
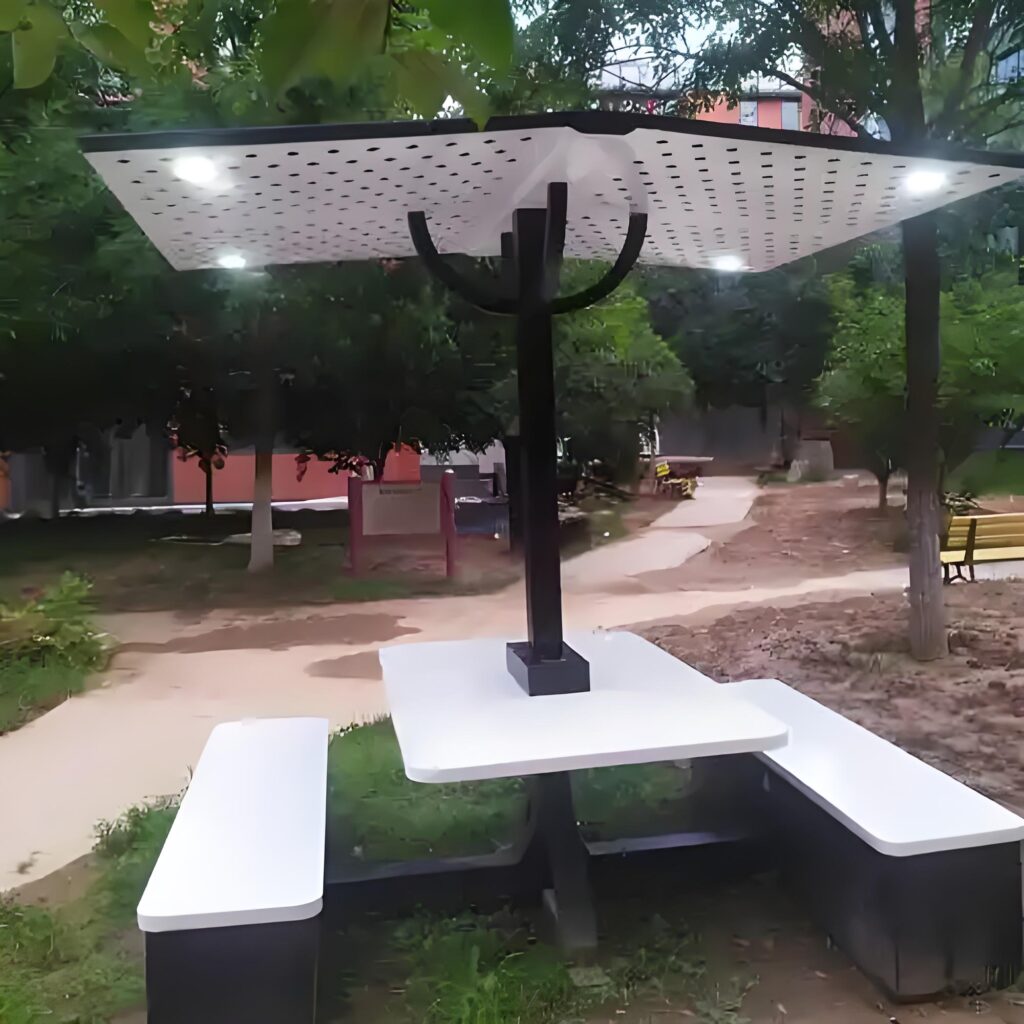
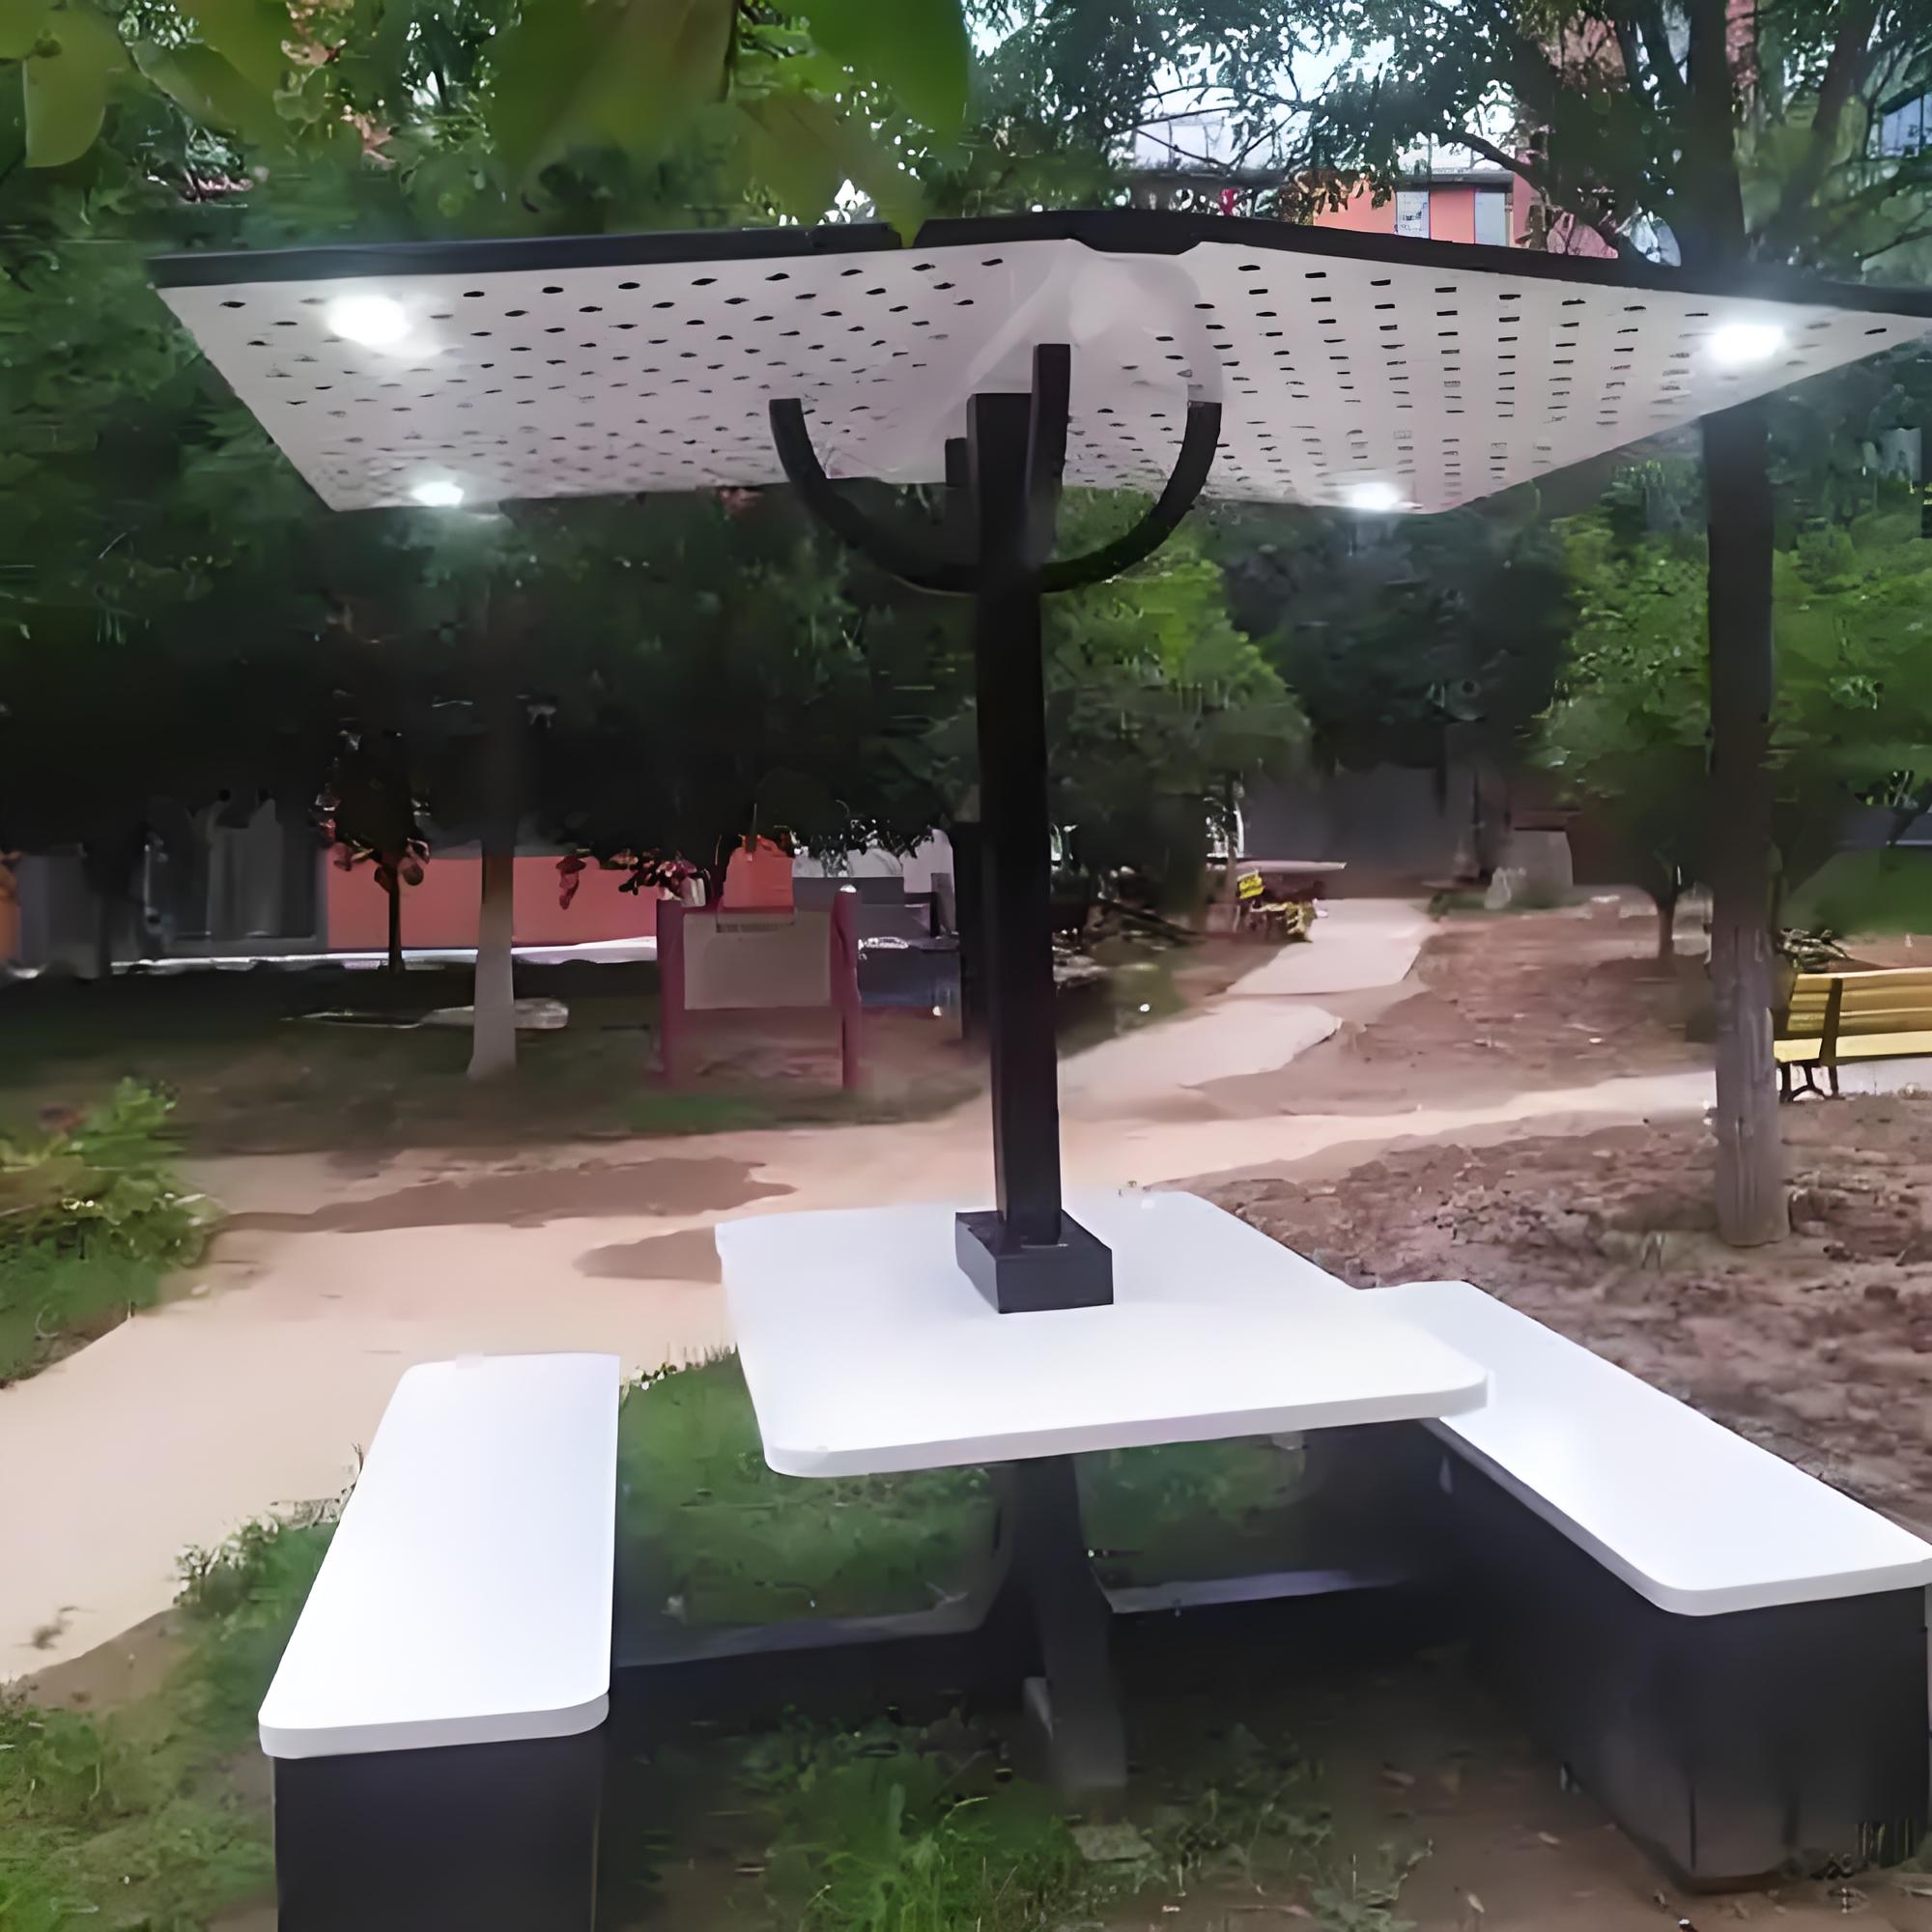
A successful solar bench installation begins before the product arrives. Sunlight, circulation, foundation design, drainage, accessibility, security and maintenance access all influence how well the bench performs after handover.
Because many models are off-grid, buyers sometimes assume installation only requires placing the bench on the pavement. In reality, a public-space product still needs safe anchoring, structural coordination and commissioning. A poorly selected position can reduce solar generation, obstruct circulation or make future battery service unnecessarily difficult.
This guide provides a practical sequence for parks, campuses, transit areas and commercial public spaces. The project engineer and local authority should always confirm the rules and structural details that apply to the specific site.
Step 1: Define the Service Objective
Start by documenting why the bench is being installed.
Questions include:
- Is the priority seating, charging, lighting or smart monitoring?
- How many people are expected to use it each day?
- Is evening charging required?
- Must the system operate after several cloudy days?
- Are Wi-Fi, sensors or displays included?
- Is the bench part of a pilot or a larger rollout?
These answers influence energy sizing, location and commissioning tests. They also prevent the installation team from treating the bench as ordinary furniture.
Step 2: Survey Solar Access
The proposed location should be assessed for sunlight across the day and season.
Look for shade from:
- existing trees;
- future tree growth;
- nearby buildings;
- shelters and canopies;
- signs and lighting columns;
- walls and landscape structures;
- and temporary event equipment.
The U.S. Department of Energy identifies panel orientation, tilt, structural support and electrical load as linked PV system considerations. For a solar bench, the best orientation may need to be balanced with seating direction, public circulation and visual design.
Take site photographs at different times if possible. For a high-value project, use a proper solar-site assessment rather than estimating from a single midday visit.
Step 3: Select a Safe, Useful Location
Good solar access is not the only requirement. The bench should be where people need to sit without creating a hazard.
Review:
- pedestrian desire lines;
- accessible routes;
- clearance from cycle lanes and vehicles;
- emergency and maintenance access;
- visibility and passive surveillance;
- distance from sprinklers or flood-prone areas;
- charging-cable paths;
- proximity to trees that drop leaves or sap;
- and conflicts with underground services.
The U.S. Access Board describes accessible routes as continuous and unobstructed, and it requires relevant ground surfaces to be stable, firm and slip resistant. Local accessibility rules should be checked during layout design, not after the foundation has been poured.
Step 4: Confirm Ground and Drainage Conditions
Inspect the paving and substrate. A decorative surface alone may not provide enough anchoring strength.
The installation designer should determine:
- soil or slab condition;
- frost, settlement or expansive-soil risk;
- drainage direction;
- flood exposure;
- underground utilities;
- required concrete strength and dimensions;
- and whether the surface will be reinstated after foundation work.
Avoid depressions where water can collect around the base. Drainage paths should not direct water into electrical access doors or cable entries.
Step 5: Design the Foundation and Anchoring
Foundation requirements depend on the bench structure, weight, panel arrangement, wind exposure, local ground conditions and vandalism risk.
Possible arrangements include:
- anchors into a verified reinforced concrete slab;
- a new cast concrete base;
- embedded anchor bolts with a positioning template;
- concealed base plates;
- or a project-specific foundation frame.
Use the manufacturer’s approved fixing locations and installation drawing. Do not drill additional holes into the product without review, because this may affect structure, coating and water protection.
The responsible engineer should verify the foundation and anchoring for the local site. A generic drawing should not replace project-specific structural judgment where wind, seismic or public-safety requirements apply.
Step 6: Coordinate Delivery and Handling
Before delivery, confirm:
- packed and unpacked dimensions;
- unit and lifting weight;
- access for the delivery vehicle;
- unloading equipment;
- lifting points;
- protection for finished paving;
- temporary storage;
- and weather protection before installation.
Lift from approved points. Solar panels, charging surfaces and finished seating should not be used as lifting contact points. Retain protective film only as long as recommended; film left in strong sunlight can become difficult to remove.
Step 7: Inspect the Product Before Fixing
Complete an incoming inspection before permanent anchoring:
- Check model, color and quantity.
- Inspect coating, seating and panel glass.
- Confirm charging modules and optional functions.
- Look for transport damage or loose fasteners.
- Verify keys, spare parts and documentation.
- Record serial numbers if supplied.
- Photograph the unit condition.
It is easier to resolve a shipping issue before the unit is fixed to the site.
Step 8: Position and Anchor the Bench
Set out the exact position against the approved landscape or civil drawing. Confirm orientation before drilling or grouting.
During anchoring:
- keep the base level unless the manufacturer specifies otherwise;
- use the approved anchor type and dimensions;
- follow required edge distances;
- protect damaged coating around any permitted work;
- tighten fasteners according to the project procedure;
- install tamper-resistant covers where specified;
- and verify that service doors can open fully.
Do not place sealant where it blocks intended drainage paths.
Step 9: Check Accessibility and User Clearances
After positioning, walk the surrounding route as a user would.
Verify:
- clear pedestrian passage;
- a stable and slip-resistant approach;
- wheelchair space where required by the project;
- reachable charging interfaces;
- no sharp projections into the route;
- no cable path across circulation;
- adequate separation from vehicles and bicycles;
- and safe use of armrests, tables or side modules.
Accessibility obligations vary by jurisdiction and facility. The project designer should confirm applicable local standards.
Step 10: Commission the Solar and Charging System
Commissioning confirms that the installed product performs as specified.
A practical checklist includes:
- Inspect the solar panel for damage and cleanliness.
- Confirm internal connectors and protective devices.
- Record battery status and controller indicators.
- Test every USB and wireless charging point.
- Test simultaneous outputs if this is part of the specification.
- Check lighting, sensors and communications.
- Confirm low-energy settings and operating schedules.
- Verify drainage and enclosure closures.
- Confirm that service panels lock correctly.
- Record configuration, date and test results.
If commissioning takes place in poor solar conditions, document which tests were completed and which require a later verification.
Step 11: Complete Handover
The owner should receive:
- product and installation drawings;
- component specifications;
- commissioning record;
- operating instructions;
- cleaning and inspection schedule;
- battery and charging-module replacement procedure;
- keys or access tools;
- spare-parts list;
- warranty terms;
- supplier contact details;
- and an asset identifier for each unit.
For multi-site projects, store this information in the owner’s asset-management system.
Common Solar Bench Installation Mistakes
Choosing a shaded location
A beautiful location under dense trees may not provide enough solar input. Assess performance before approving the position.
Treating decorative paving as a foundation
Pavers or thin slabs may not provide reliable anchoring. Verify the substrate.
Blocking maintenance access
A planter, wall or adjacent bench can prevent the battery compartment from opening. Check the service envelope on the drawing.
Ignoring drainage
Standing water around the base accelerates deterioration and creates a slip risk.
Failing to test simultaneous charging
Testing one port does not confirm the combined performance promised in the specification.
Installing before final layout approval
Moving an anchored bench later can damage paving, anchors and finishes. Coordinate landscape, civil and electrical information first.
Solar Bench Installation Checklist
| Stage | Check |
|---|---|
| Planning | Service objective and expected loads defined |
| Site | Solar access and seasonal shading reviewed |
| Layout | Circulation, accessibility and cable use considered |
| Civil | Ground, drainage and services checked |
| Structure | Foundation and anchors approved for the site |
| Logistics | Delivery route, weight and lifting plan confirmed |
| Product | Incoming inspection completed |
| Installation | Position, level, fasteners and service clearance verified |
| Commissioning | Charging, lighting, controls and battery status tested |
| Handover | Drawings, manuals, spares and warranty transferred |
Frequently Asked Questions
Does a solar bench need electrical wiring?
Many models operate off-grid and do not require a grid connection. Internal wiring is still part of the product, and hybrid configurations may be appropriate for some projects.
Can a solar bench be installed under a tree?
It can physically be installed there, but shade may reduce energy generation. A solar assessment should confirm whether the location can support the required service.
Does it need a concrete foundation?
Many public installations use a verified concrete base or slab, but the correct method depends on the bench, ground and site loads. Follow the approved project drawing.
How long does installation take?
The fixing operation may be relatively short once the base is ready, but surveys, utility checks, foundation curing, delivery and commissioning must be included in the schedule.
Who should approve the installation?
The project owner should coordinate the manufacturer, landscape or civil designer, responsible structural professional, installer and local authority as required.
Plan the Site Before Ordering
Solar bench installation is most efficient when site planning and product specification happen together. Confirm sunlight, service goals, foundation, circulation and maintenance access before production begins.
For product-selection questions, use the solar bench buying guide. Yubang supplies custom solar smart benches with project-specific configuration support. Send the site plan, installation city, required functions and quantity so anchoring and layout requirements can be reviewed before quotation.
Suggested external references
- U.S. Department of Energy, Solar Photovoltaic System Design Basics: https://www.energy.gov/cmei/systems/solar-photovoltaic-system-design-basics
- U.S. Access Board, Guide to Accessible Routes: https://www.access-board.gov/ada/guides/chapter-4-accessible-routes/
- U.S. Access Board, Floor and Ground Surfaces: https://www.access-board.gov/ada/guides/chapter-3-floor-and-ground-surfaces/
