
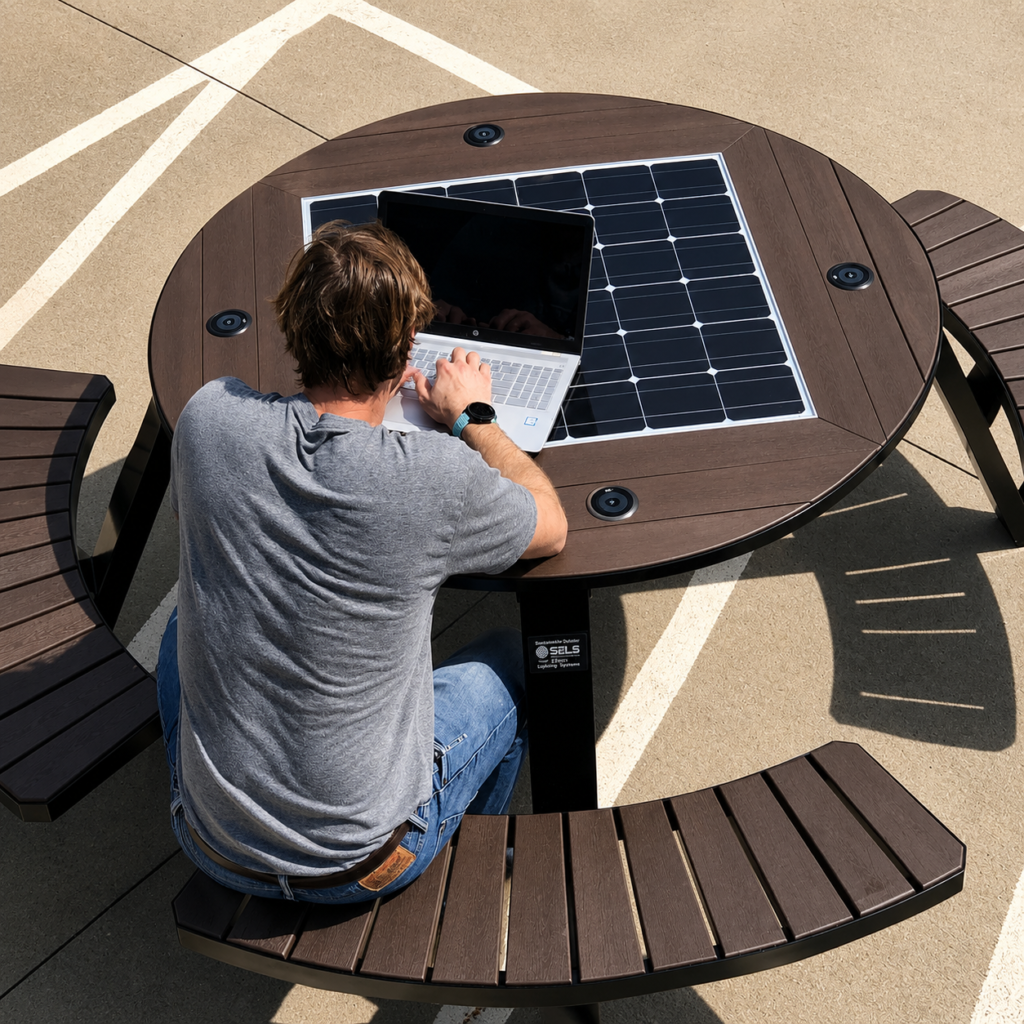
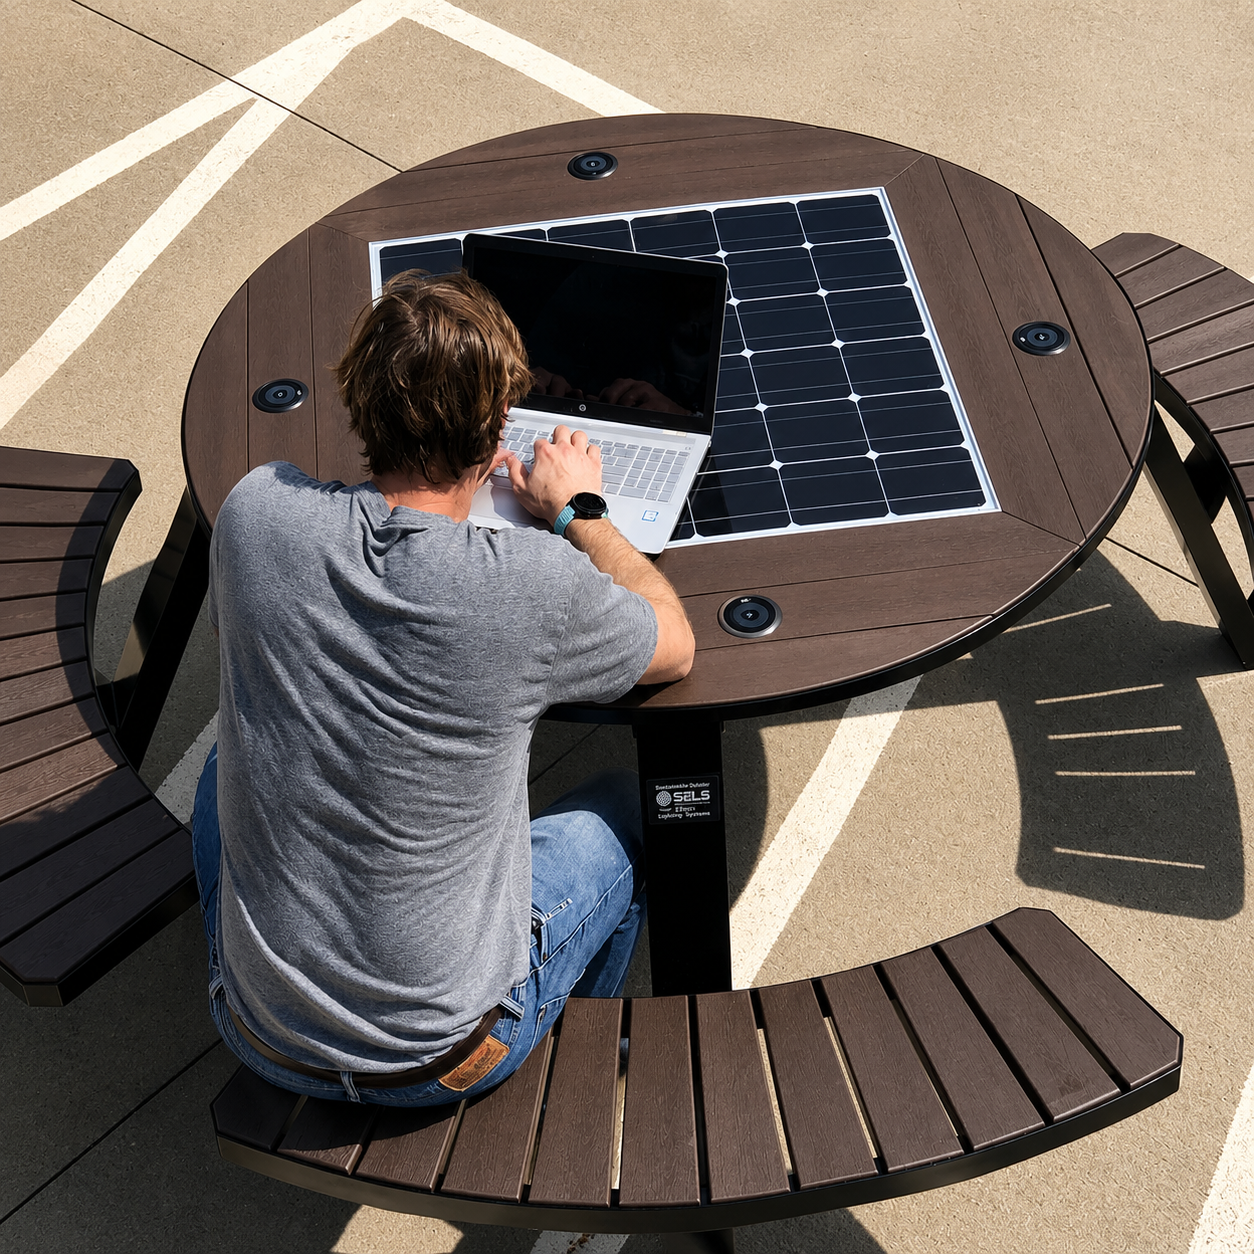
Regular solar bench maintenance protects seating, solar generation, charging performance and the electrical components inside the structure. A smart bench may continue to look acceptable even when dirt, shade, loose hardware or a worn charging module is gradually reducing its service quality.
Maintenance does not need to be complicated. The most effective program combines routine visual checks, safe cleaning, scheduled technical inspections, clear fault records and access to replaceable parts.
This guide helps park managers, campus teams, contractors and public-space operators build a practical maintenance plan. Always follow the product manual and site safety rules for the supplied model.
Why Solar Benches Need a Maintenance Plan
A solar bench contains several systems with different maintenance needs:
- photovoltaic panel;
- battery and charge controller;
- USB and wireless charging modules;
- structural frame and seating surface;
- coating, fasteners and anchors;
- lighting and optional smart devices;
- seals, drains and access panels.
Outdoor exposure adds dust, rain, leaves, bird droppings, temperature changes, pollution and possible vandalism. In public areas, charging ports and seating surfaces also experience frequent contact.
Without a plan, small issues can accumulate. A blocked drain may increase moisture exposure. A damaged port cover may allow contamination. New tree growth may shade the panel. Loose fixings may become a safety concern. Regular inspection finds these problems before they become expensive failures.
Build an Asset Record First
Create a record for every bench containing:
- asset number and location;
- model and serial number;
- installation and commissioning date;
- panel, battery and controller specifications;
- charging-module specifications;
- finish and color reference;
- foundation and fixing information;
- warranty period;
- supplier contact;
- key or access-tool details;
- maintenance history;
- and replacement parts used.
For multiple units, record faults by location. Repeated problems at only one site may indicate shade, drainage, vandalism or usage conditions rather than a product-wide issue.
Recommended Inspection Frequencies
The correct interval depends on climate, foot traffic, vegetation, pollution and vandalism risk. Use the following as a planning framework and adjust it from experience and manufacturer instructions.
| Frequency | Typical checks |
|---|---|
| Routine site visit | Obvious damage, cleanliness, blocked access, loose litter, port condition, panel obstruction |
| Monthly or scheduled operational check | Test charging points, lighting and visible controller indicators; inspect drains, coating and fasteners |
| Seasonal check | Review changing shade, vegetation, storms, snow, drainage and corrosion exposure |
| Annual technical inspection | Open service compartment safely; inspect battery, wiring, connectors, seals, controller records and anchors |
| After an incident | Inspect after impact, flooding, severe storm, vandalism, abnormal heat or reported electrical fault |
This is not a universal mandatory schedule. The owner should define the final frequency from risk, local rules and the supplied maintenance manual.
Solar Panel Cleaning and Inspection
The panel needs light to generate electricity. Dust, leaves, bird droppings and other deposits can reduce the useful exposed area.
Visual checks
Look for:
- dirt and organic material;
- cracked or chipped panel surfaces;
- loose frames or supports;
- discoloration;
- damaged cable protection;
- new shade from vegetation;
- and water collecting around panel edges.
Safe cleaning
Use the cleaning method approved by the panel or bench supplier. As a general principle:
- isolate or place the system in the recommended service state;
- use soft, non-abrasive tools;
- avoid harsh chemicals unless approved;
- do not scratch the panel surface;
- do not direct high-pressure water into seams or connectors;
- and avoid creating a slip hazard around the bench.
Clean during suitable weather and surface-temperature conditions. Do not stand or place heavy loads on the panel.
Shade control
Vegetation changes over time. Compare current shade with the original site assessment. Coordinate pruning with the landscape manager rather than removing branches without authorization.
Charging-Port Maintenance
USB ports and wireless pads are high-contact components.
Inspect wired charging points for:
- bent or contaminated connectors;
- damaged covers;
- looseness;
- water or debris in recesses;
- corrosion;
- vandalism;
- unreadable labels;
- and intermittent charging.
Test each port with an approved test device. Also test the combined configuration periodically if simultaneous output is part of the service requirement.
For wireless pads, check:
- surface cracks and scratches;
- secure mounting;
- alignment markings;
- charging response;
- unusual heat;
- and water drainage.
Charging modules should be replaceable service parts. Keep the correct part number and replacement procedure in the asset record.
Battery Inspection and Replacement Planning
Batteries have finite service lives, but there is no single replacement interval that applies to every solar bench. Chemistry, temperature, cycling, depth of discharge, controller settings and actual load all matter.
Monitor for:
- reduced nighttime availability;
- frequent low-energy shutdowns;
- abnormal controller warnings;
- swelling, leakage, odor or heat;
- corroded terminals;
- loose connections;
- water ingress;
- and physical damage.
Only trained personnel should access and service the battery compartment. Use the specified replacement type and follow applicable electrical, transport and recycling procedures.
Signs that do not automatically prove battery failure
Low charging availability can also result from:
- a dirty panel;
- seasonal shade;
- increased user demand;
- a new lighting schedule;
- faulty output modules;
- controller settings;
- damaged wiring;
- or poor solar weather.
Troubleshoot the whole energy path before replacing the battery.
Controller and Electrical Checks
The charge controller may provide indicator lights, status values or monitoring data. During a technical inspection:
- record warnings and operating status;
- check cable security and protection;
- inspect fuses or protective devices as instructed;
- look for heat damage or discoloration;
- verify enclosure seals and cable entries;
- confirm that load priorities match the approved settings;
- and check the system clock or lighting schedule where relevant.
Do not change controller settings without recording the reason and original values. An undocumented change can make future troubleshooting difficult.
Structure, Coating and Corrosion
Inspect the full structural body, especially:
- base plates and anchors;
- welds and joints;
- edges and corners;
- underside surfaces;
- drainage openings;
- fasteners and hinges;
- scratches or coating chips;
- areas where dissimilar metals meet;
- and locations exposed to standing water.
Repair coating damage using the manufacturer-approved system. Painting over rust or contamination without surface preparation may hide the issue rather than solve it.
Coastal sites and areas exposed to salt or industrial pollution may need more frequent washing and inspection. For broader corrosion-control guidance, see How to Prevent Rust on Outdoor Metal Furniture.
Seating-Surface Care
Cleaning depends on the seating material.
Powder-coated metal
Use a mild approved cleaner and soft cloth or brush. Check for chips, impact marks and areas where water remains trapped.
Stainless steel
Clean in the direction of the surface finish where applicable. Remove deposits that could cause staining, and avoid tools that transfer carbon-steel contamination.
Wood
Inspect for checking, splinters, loose boards, coating wear and water retention. Follow the specified refinishing schedule.
Wood-plastic composite
Remove dirt from grooves and joints. Inspect for heat damage, deformation and loose fixings.
Do not use one aggressive cleaning method on every material.
Anchors, Ground and Drainage
A solar bench remains a piece of public furniture and must stay securely fixed.
Check:
- loose or missing anchor covers;
- movement when the bench is loaded;
- cracked concrete or displaced paving;
- settlement or tilting;
- corrosion around the base;
- standing water;
- blocked drainage paths;
- and new trip hazards.
If movement or foundation damage is observed, restrict use as appropriate and obtain a structural assessment. Tightening visible fasteners alone may not resolve a damaged substrate.
Lighting, Sensors and Connectivity
Optional functions require their own tests.
Lighting
Check operation, brightness, schedule, motion sensors, diffusers and water entry. Compare actual operation with the intended energy priority.
Environmental sensors
Inspect sensor openings and compare unusual readings with a reference device before assuming the sensor has failed.
Wi-Fi or communications
Separate network problems from bench power problems. Record signal status, device status and energy availability.
Monitoring platform
Review offline devices, recurring warnings and performance changes. Monitoring is most useful when someone is responsible for responding to alerts.
Solar Bench Troubleshooting Table
| Symptom | Possible causes | First checks |
|---|---|---|
| No charging at any port | Low stored energy, controller protection, disconnected load, fuse/protection issue | Check status indicators, panel condition, battery state and approved protective devices |
| One port does not work | Damaged or contaminated module, loose connection | Inspect and test the individual replaceable module |
| Wireless charging is intermittent | Device alignment, incompatible device, surface damage, low output | Test with approved device and inspect pad |
| Bench works in daytime but not at night | Battery condition, insufficient charging, schedule settings | Review battery data, recent solar input and controller configuration |
| Frequent low-energy mode | Shade, dirty panel, increased loads, seasonal change, battery degradation | Inspect panel and shade; compare load and generation history |
| Lighting stays on or off incorrectly | Sensor, timer or controller setting | Test sensor and record configured schedule |
| Water inside service area | Seal, access door, cable entry or drainage problem | Isolate as required, document entry path and repair before returning to service |
| Bench moves or rocks | Loose anchors, slab damage, settlement | Restrict use and inspect foundation and fixing system |
Spare Parts to Plan Before Handover
Depending on the model and fleet size, consider holding:
- USB modules;
- wireless charging modules;
- port covers and seals;
- fuses or approved protective components;
- lighting modules;
- keys and lock components;
- tamper-resistant fasteners;
- touch-up coating materials;
- controller or communication modules;
- and the approved battery replacement specification.
Spare quantities should reflect the number of benches, local lead times and the consequence of downtime.
Maintenance Records Improve Future Purchasing
Record:
- inspection date and person;
- cleaning performed;
- faults observed;
- controller or battery readings;
- photographs;
- parts replaced;
- configuration changes;
- time out of service;
- and corrective action.
After the first year, review which components required attention and whether certain locations experience more shade, dirt or damage. This information can improve the next specification and placement plan.
Frequently Asked Questions
How often should a solar bench be cleaned?
There is no universal interval. It depends on dust, trees, bird activity, pollution, rainfall and usage. Inspect routinely and adjust the schedule from actual conditions.
When should the solar bench battery be replaced?
Replace it based on condition, performance, manufacturer guidance and technical testing—not age alone. First rule out shade, panel dirt, increased loads and output faults.
Can maintenance staff wash the bench with a pressure washer?
Only if the manufacturer’s instructions explicitly permit the method and define safe distances and areas. High-pressure water can force moisture into joints and connectors.
What should happen after vandalism?
Inspect structural, electrical and enclosure damage before returning the bench to service. Isolate damaged charging interfaces and document the incident.
Does a smart solar bench need software maintenance?
If it includes connected monitoring, Wi-Fi or configurable controls, access credentials, firmware responsibility, data service and alert response should be included in the operating plan.
Design for Maintenance Before Purchase
The easiest solar bench to maintain is one designed for service from the beginning. Buyers should ask how the battery, charging modules, controller, lighting and locks are accessed and replaced before placing an order.
A clear maintenance schedule, asset record and spare-parts plan protect both performance and lifecycle value. For installation considerations, read the solar bench installation guide. For product selection, use the solar bench buying guide.
Yubang supplies custom solar smart benches for public outdoor spaces with configurable charging, structure, finish and smart functions. Include maintenance access, spare parts and documentation in the RFQ so the delivered system can be supported throughout the project lifecycle.
Suggested external references
- U.S. Department of Energy, Solar Photovoltaic System Design Basics: https://www.energy.gov/cmei/systems/solar-photovoltaic-system-design-basics
- IEC 60529, Degrees of protection provided by enclosures: https://webstore.iec.ch/en/publication/2452
